Byron Bay - The Wreck Surf Stats
- Forecast
- Maps
- Live
- Weather State
- Spot Information
All swells
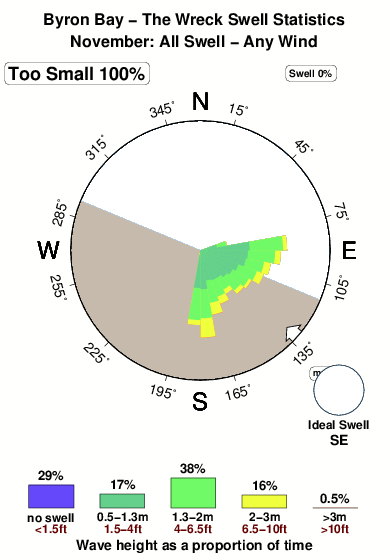


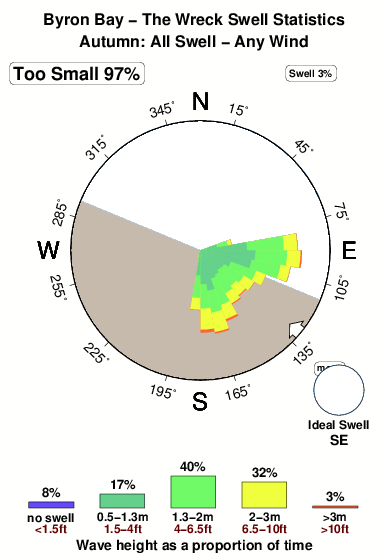
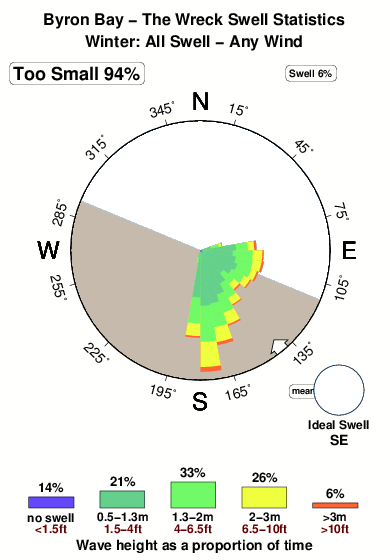
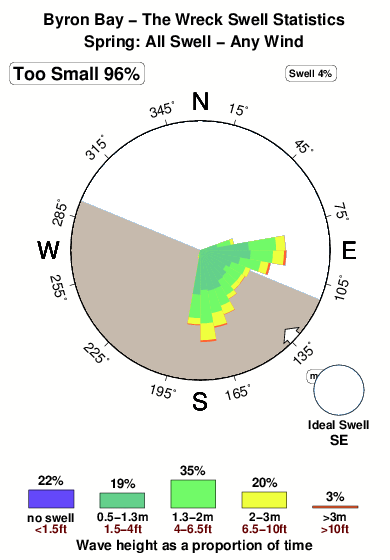
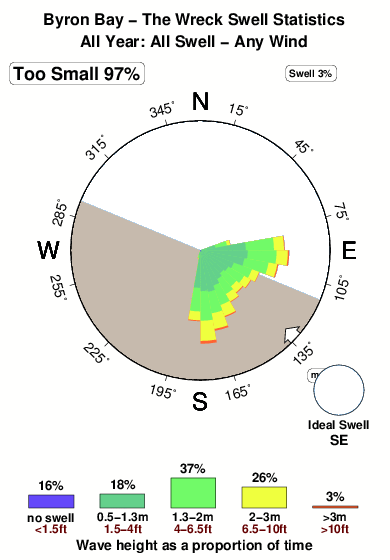
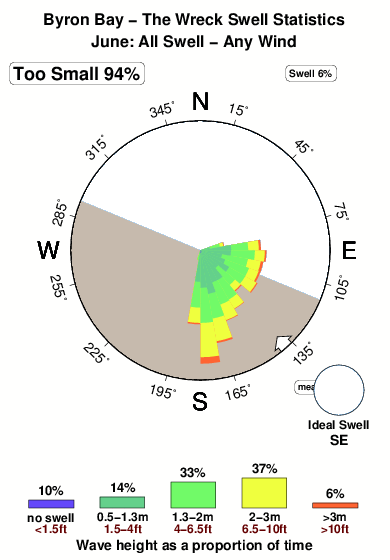
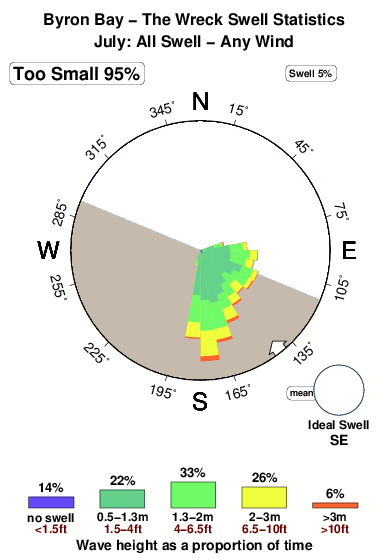
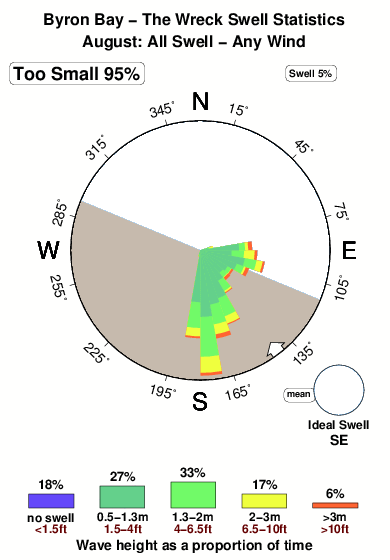
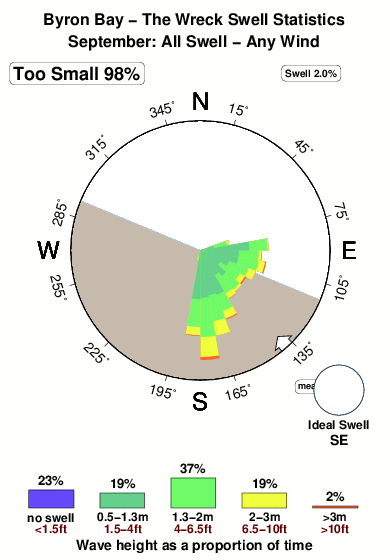
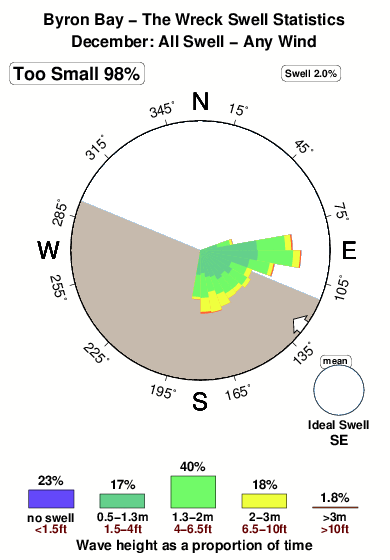
The graph shows the variation of swells directed at Byron Bay - The Wreck through a typical November and is based upon 3347 NWW3 model predictions since 2006 (values every 3 hours). The wave model does not forecast wind and surf right at the coastline so we have chosen the optimum grid node based on what we know about Byron Bay - The Wreck. In this particular case the best grid node is 41 km away (25 miles). The rose diagram illustrates the distribution of swell sizes and swell direction, while the graph at the bottom shows the same thing but lacks direction information. Five colours illustrate increasing wave sizes. Blue shows the smallest swells, less that 0.5m (1.5 feet) high. These happened only 29% of the time. Green and yellow show increasing swell sizes and red shows the biggest swells, greater than >3m (>10ft). In both graphs, the area of any colour is proportional to how frequently that size swell occurs. The diagram suggests that the most common swell direction, shown by the largest spokes, was SE, whereas the the prevailing wind blows from the NE. Because the wave model grid is away from the coast, sometimes a strong offshore wind blows largest waves away from Byron Bay - The Wreck and out to sea. We lump these in with the no surf category of the bar chart. To avoid confusion we don't show these in the rose diagram. Because wind determines whether or not waves are surfable at Byron Bay - The Wreck, you can view an alternative image that shows only the swells that were predicted to coincide with glassy or offshore wind conditions. Over an average November, swells large enough to cause good for surfing waves at Byron Bay - The Wreck run for about 0% of the time.



 Nearest